When I was a teenager, my parents purchased a bread machine. The excitement was too much to bear, obviously. Fresh, homemade bread?! Yes please! Unfortunately for me, and the bread maker...I think it was only used a handful of times. I can't say how much my family liked the bread that the machine put out....but I did not like it. I tried hard to like it but the bread was heavy and dense with a super thick, hard crust. And not in a good way. After a few days it would turn rock hard, it was oddly shaped in a strange rectangle block of awfulness, it tasted strange, off-putting and almost mechanical. Sometimes we even used those little bread packets, which is, let's admit...pretty horrendous. I could go on...
Anyways, long after the bread machine was banished to the top shelf on the pantry, you know, the one you need a chair to reach, my dad started making this artisan, rustic, no-knead bread from Cook's Illustrated. Made from scratch, and baked with love and tender care. This bread was it. My dad's bread was coveted and gobbled up instantly upon exiting the oven. He had all the bread accessories, like a cleaver and this weird-snowboard-half pipe-looking-pan, an actual bread knife where the blade was spaced from the wood just the perfect "bread-slice" amount. We actually had two, one for thin slices and one for thick. In case you have no idea what I'm talking about you can look here.
I always wished I could make bread like that. It's weird that I don't really recall ever seeing him actually make it. Maybe because it doesn't need any kneading or maybe he made it early in the morning before I was up? He's a teacher so maybe he made it after school, when I wasn't yet home from my school activities? I don't really know. I'll have to ask him. It's not really important but anyways, it always seemed complicated to me and so, being a lazy turd of a teenager...I never learned to make it.
I decided, last night, that it was finally time to make bread. Sandwich bread! I was never a bread eater and I guess I'm still not. However, somehow I do manage to eat about three slices of toast per day. Per day! Not because of the bread though, let's make that clear. It's sole purpose is to serve as a vehicle for my crack-like addiction to nutritional yeast. Seriously, do they lace that stuff? A friend introduced me to nutritional yeast on toast and now it's pretty much all I eat. And Todd...oh lord is he ever a bread eater. He'd live off buttered bread alone if I wasn't constantly stuffing his face with my vegan recipes. I'm not kidding.

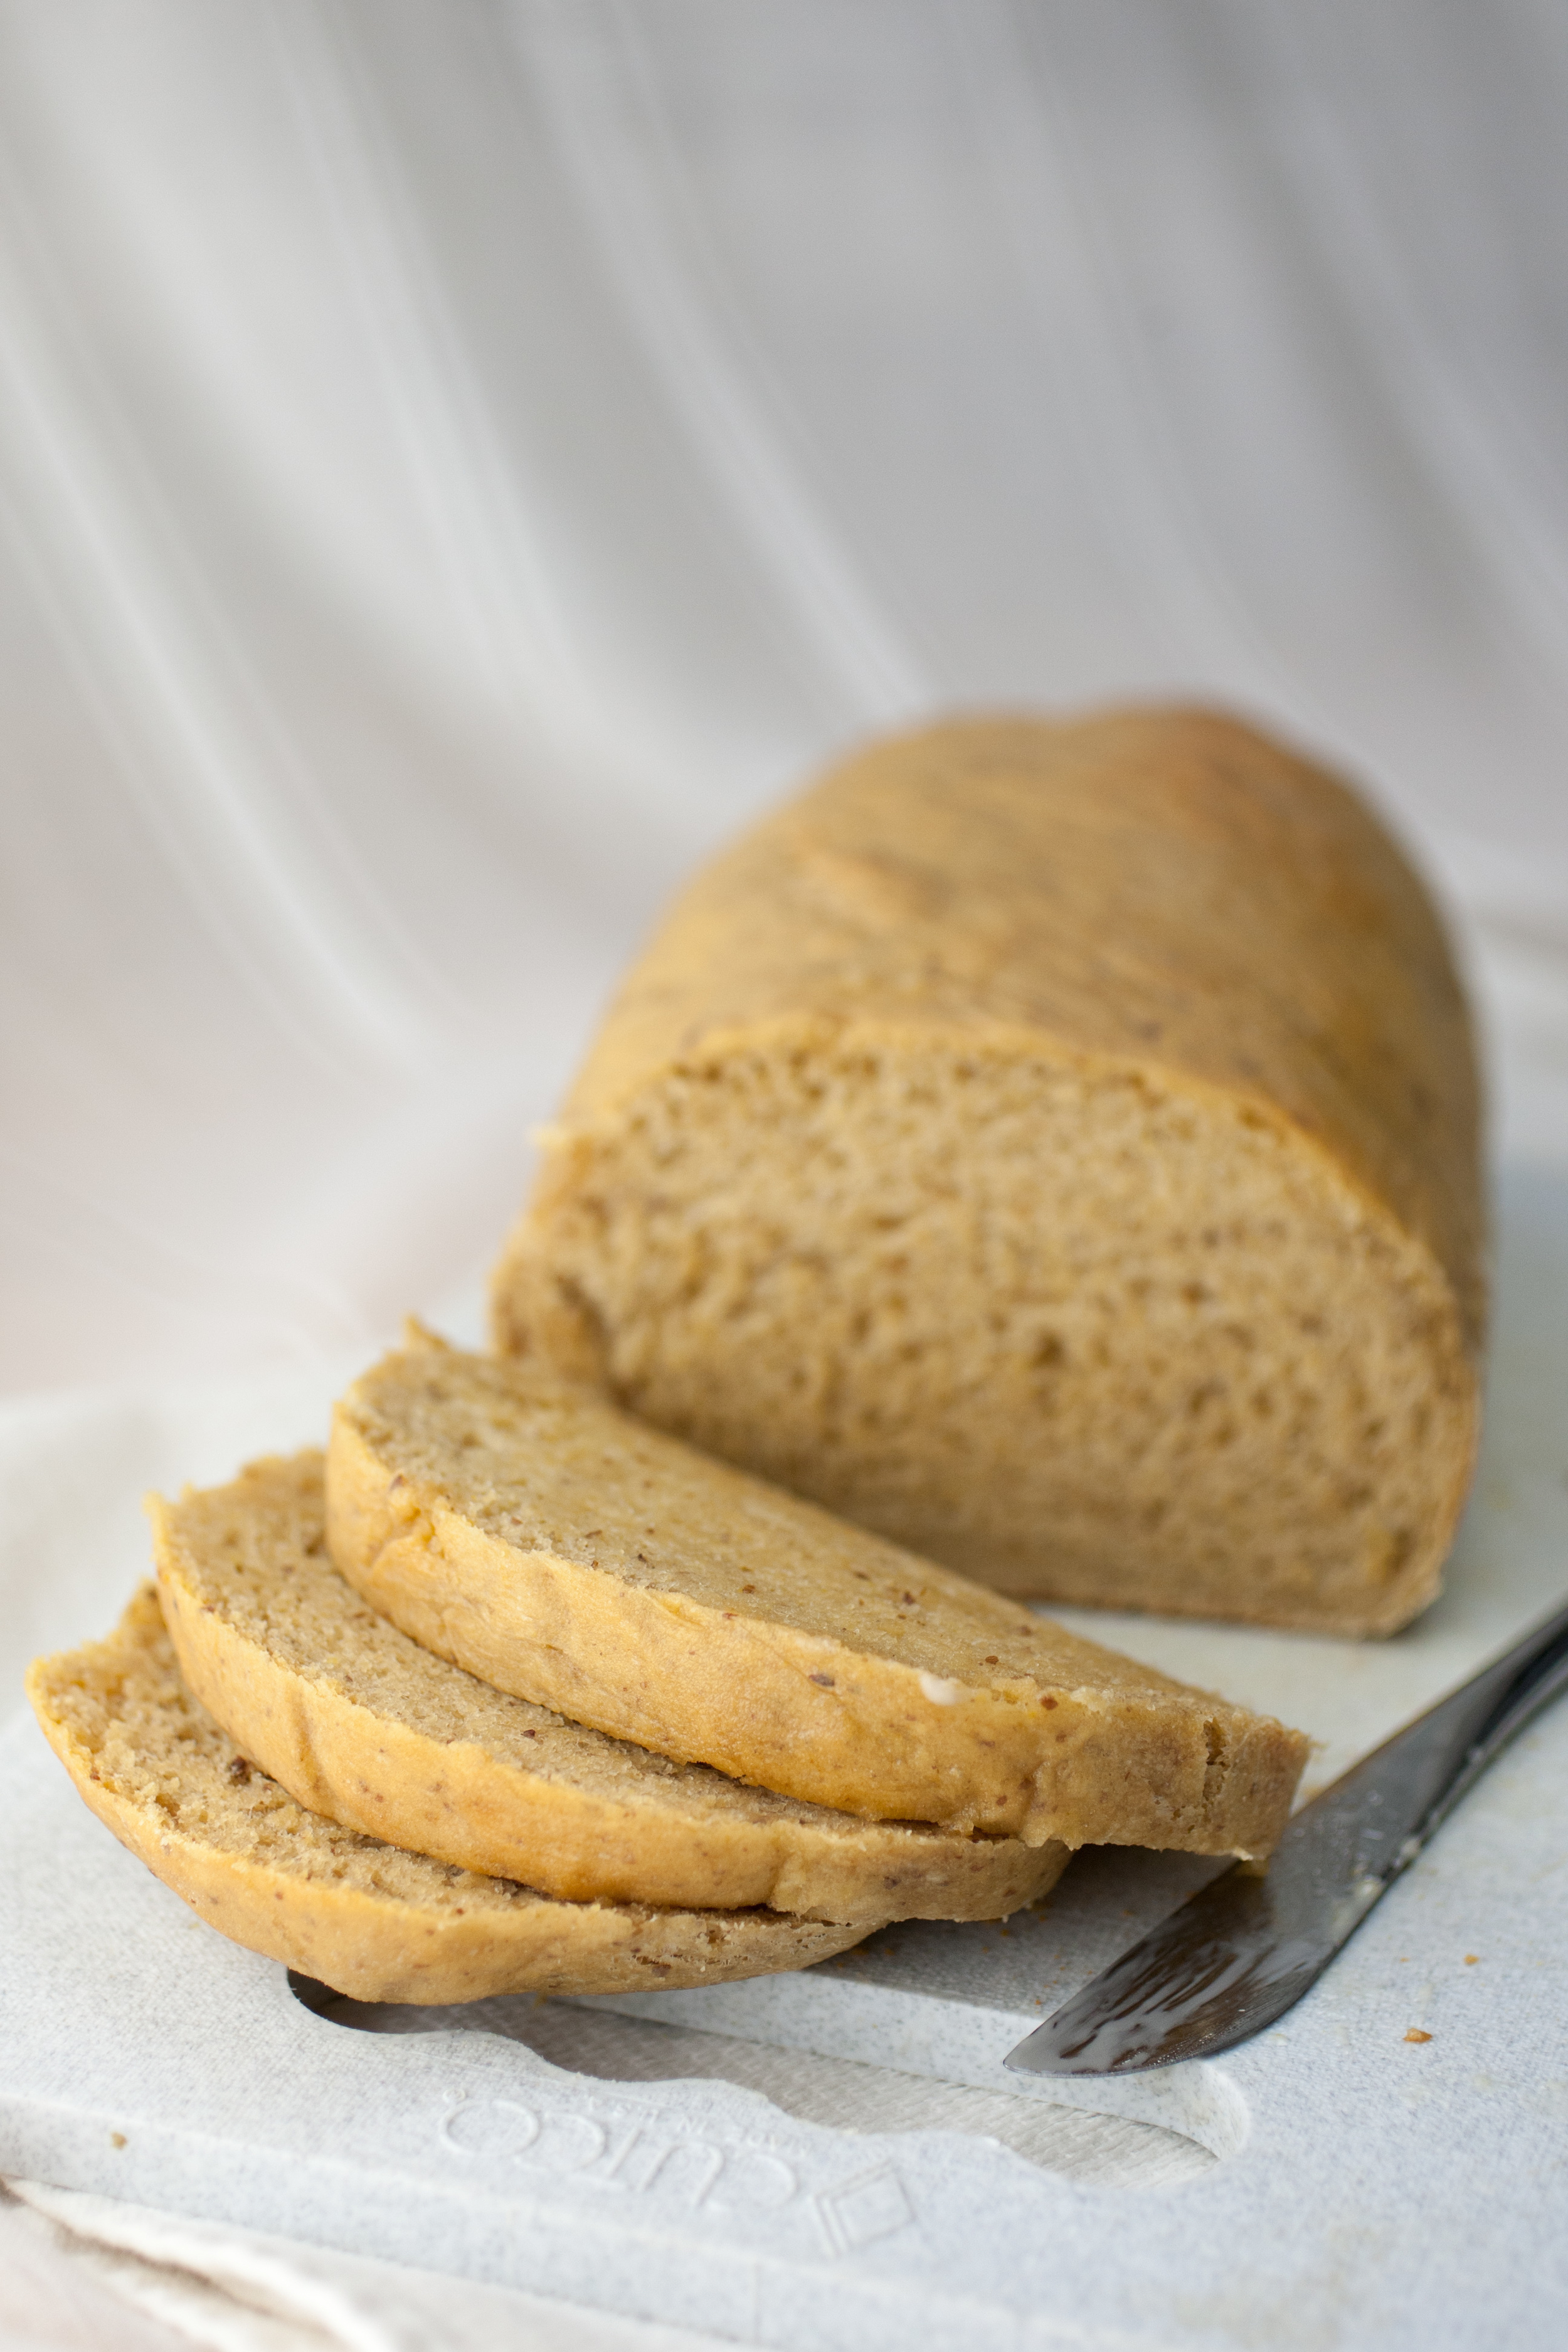
This bread is quite simple really, and pretty much foolproof. It's absolutely worth the time to make it. Most of it is hands off anyways while it rises, and there's no kneading by hand. I made it after work but I think it'd be a fun thing to do leisurely on a nice weekend. Especially if you have little munchkins to help! Inside, this wheat bread is soft and buttery and outside it lends a thin and crisp crust. Slices like a dream too, as a good sandwich bread should!
Soft Wheat Sandwich Bread
Slightly adapted from Thriving Home
Makes 2 large loaves
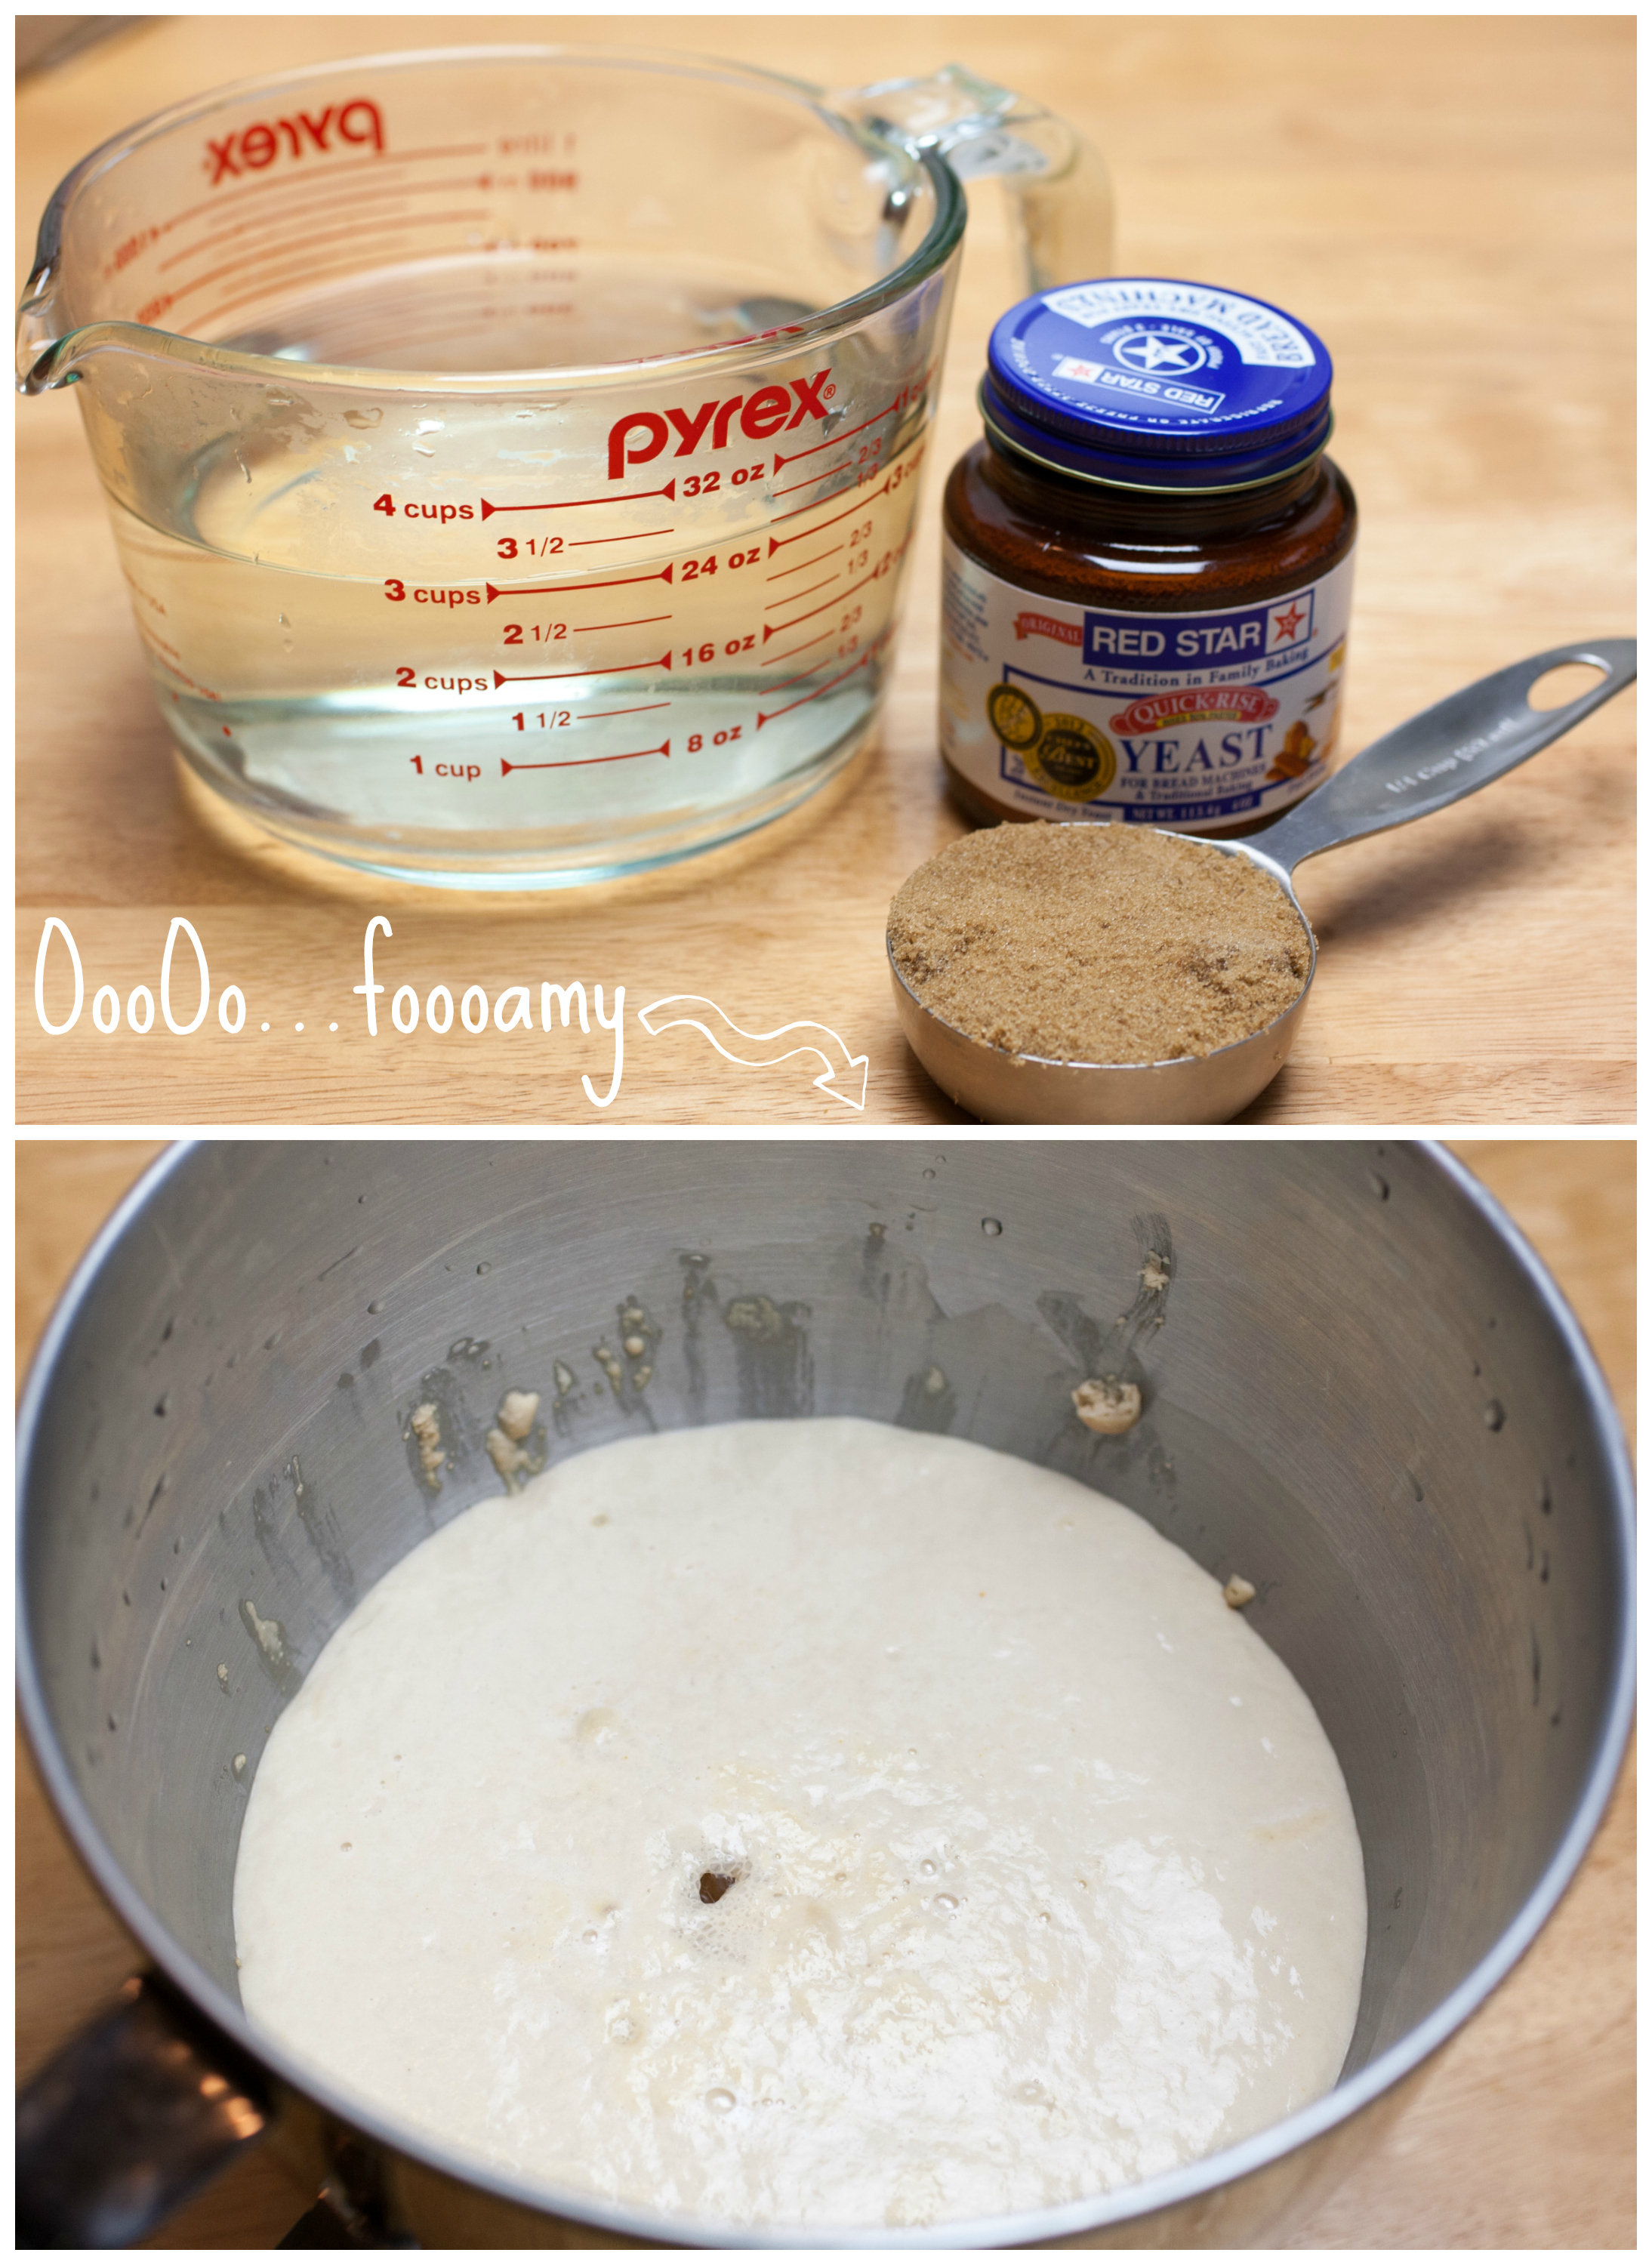
- 3 cups warm water (110 degrees)
- 1 1/2 Tbsp. quick-rising yeast
- 1/4 cup packed brown sugar
- 7 cups unbleached whole wheat white flour
- 1/4 cup ground flax seed
- 1 Tbsp. kosher salt
- 1/3 cup olive oil
- slathering of vegan butter
- --Note-- This makes two large loaves, so be sure to have two bread pans handy, or cut the recipe in half.
In a large electric stand mixer bowl, add the water, yeast, and brown sugar. Stir gently until well combined and the yeast clumps are gone. Set in a warm place for about 10 minutes. After the time is up, the mixture should be foamy on top. If it isn't, allow it to rest a little longer.
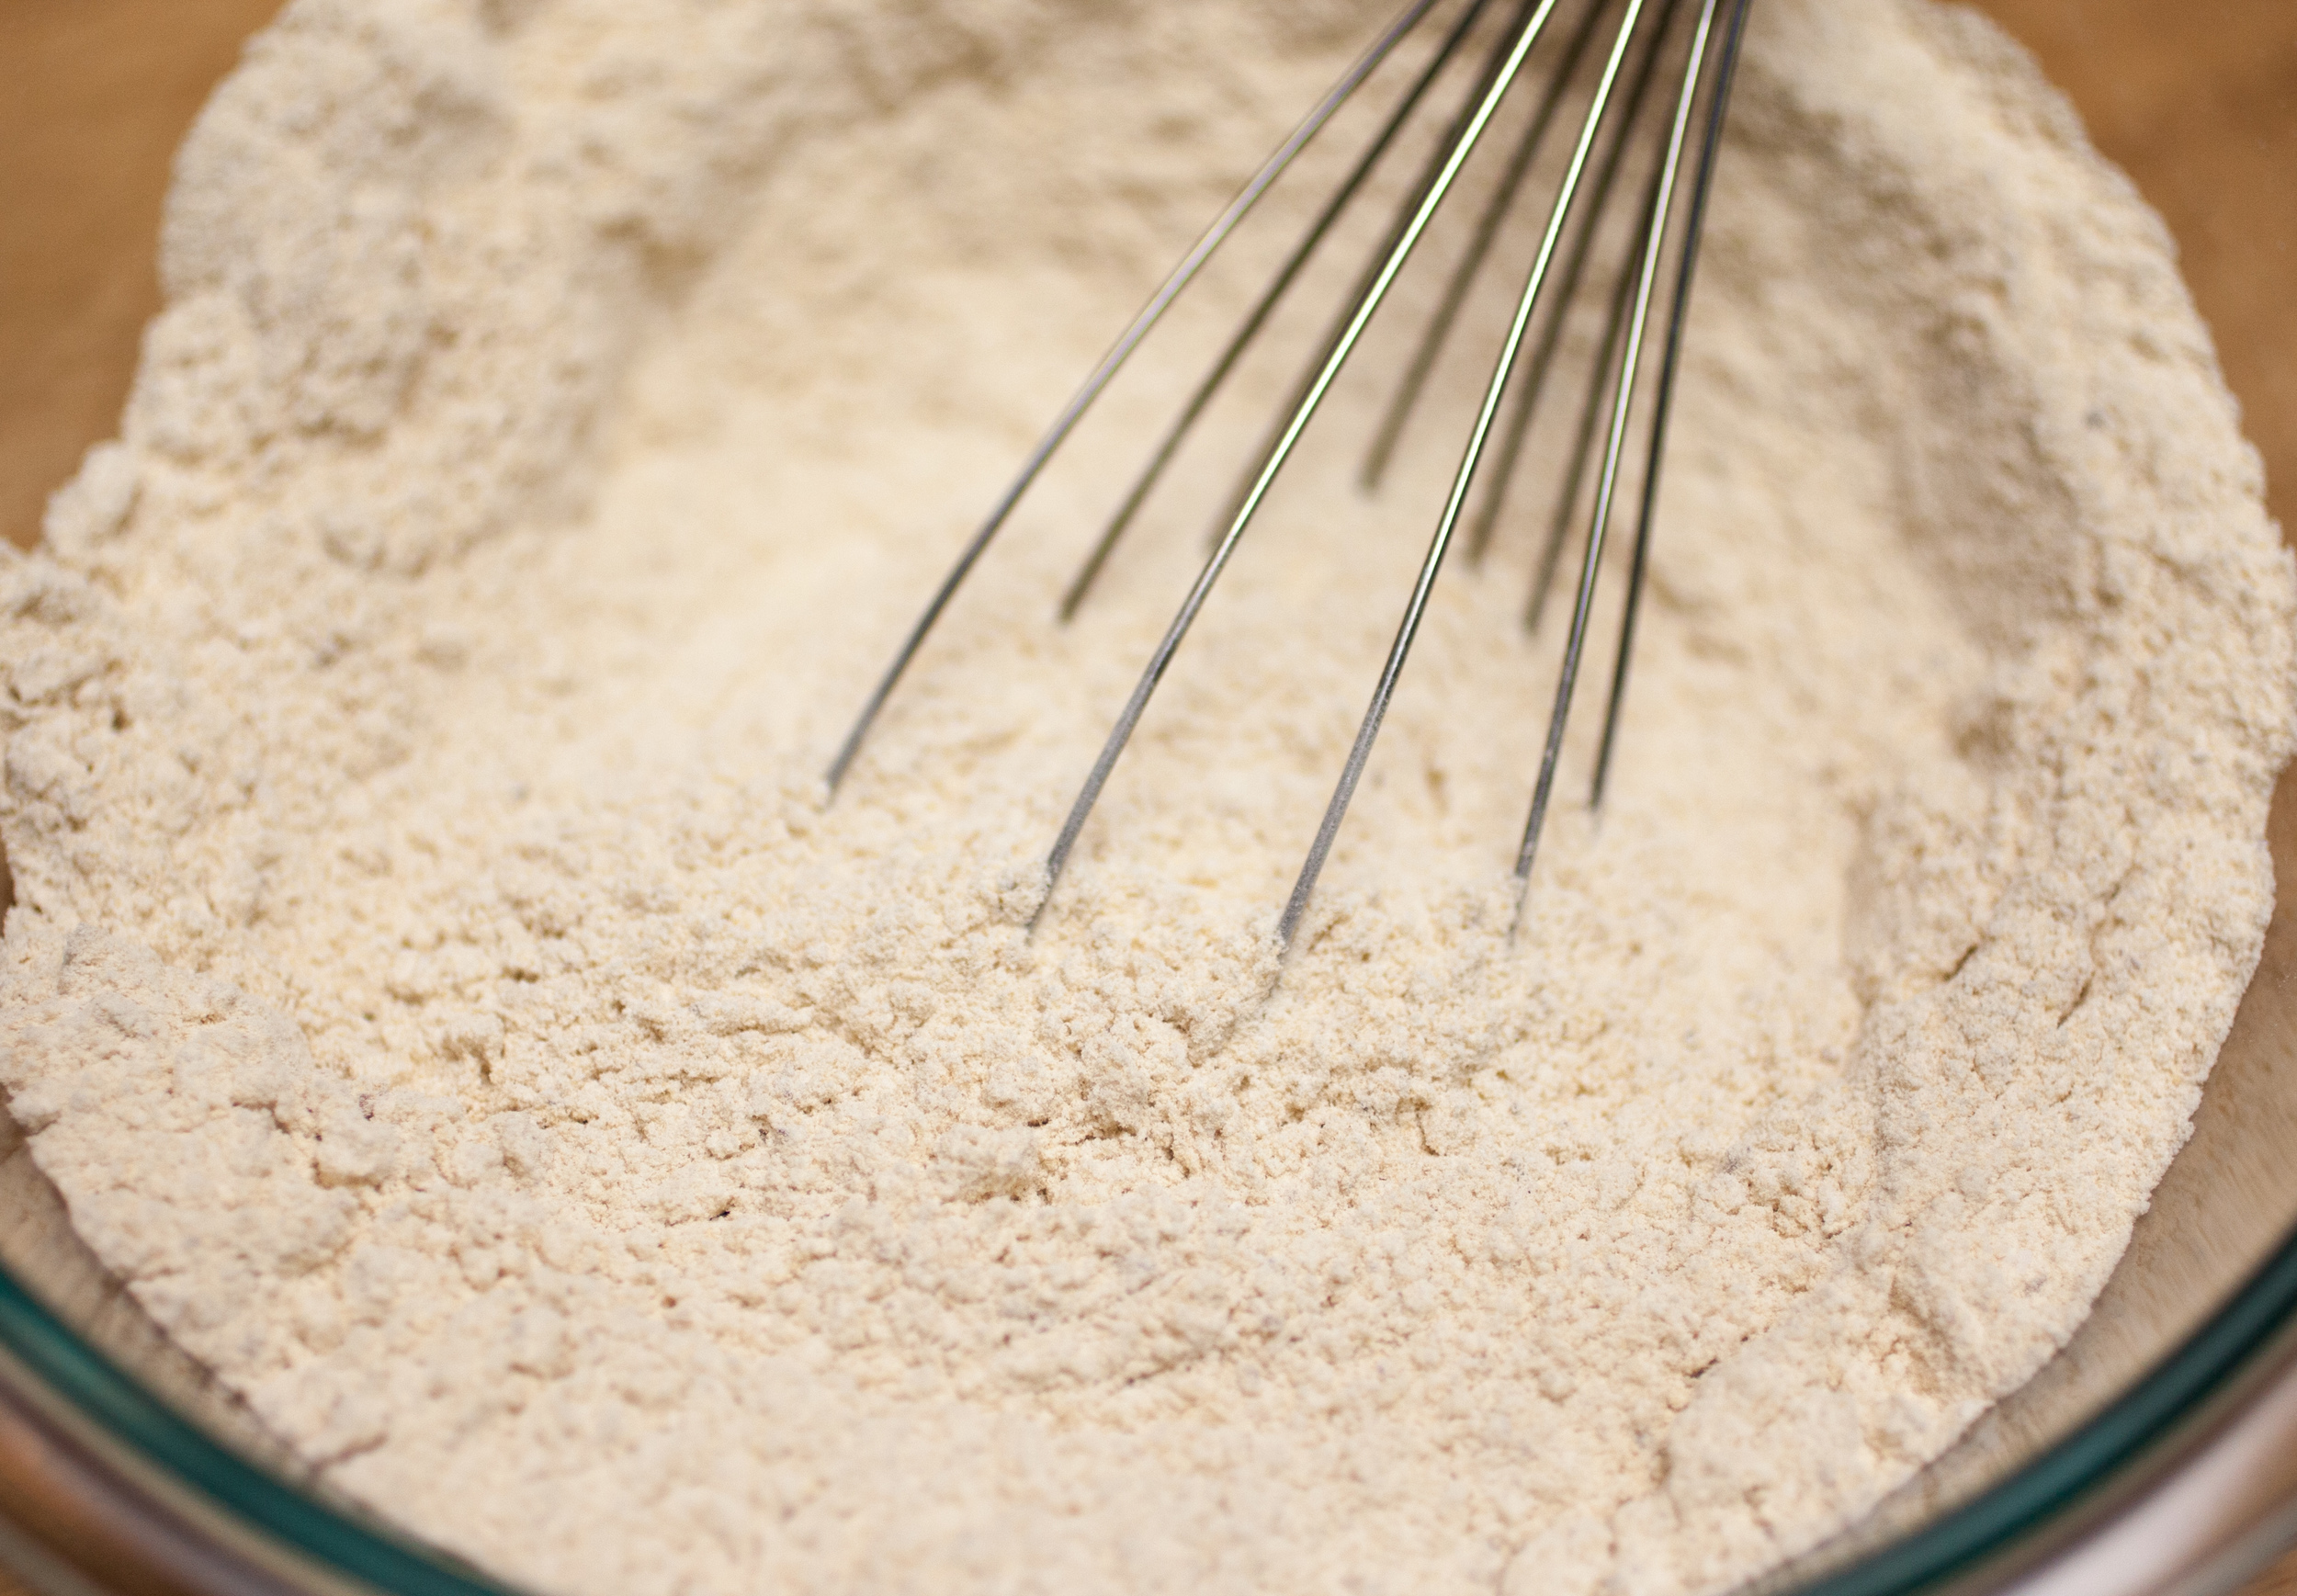
 Meanwhile, in a large bowl whisk together the flour, flax seed and salt.
 Add the olive oil to the yeast mixture, but do not mix.
Slowly stir the dry mixture into the yeast mixture, until just combined.
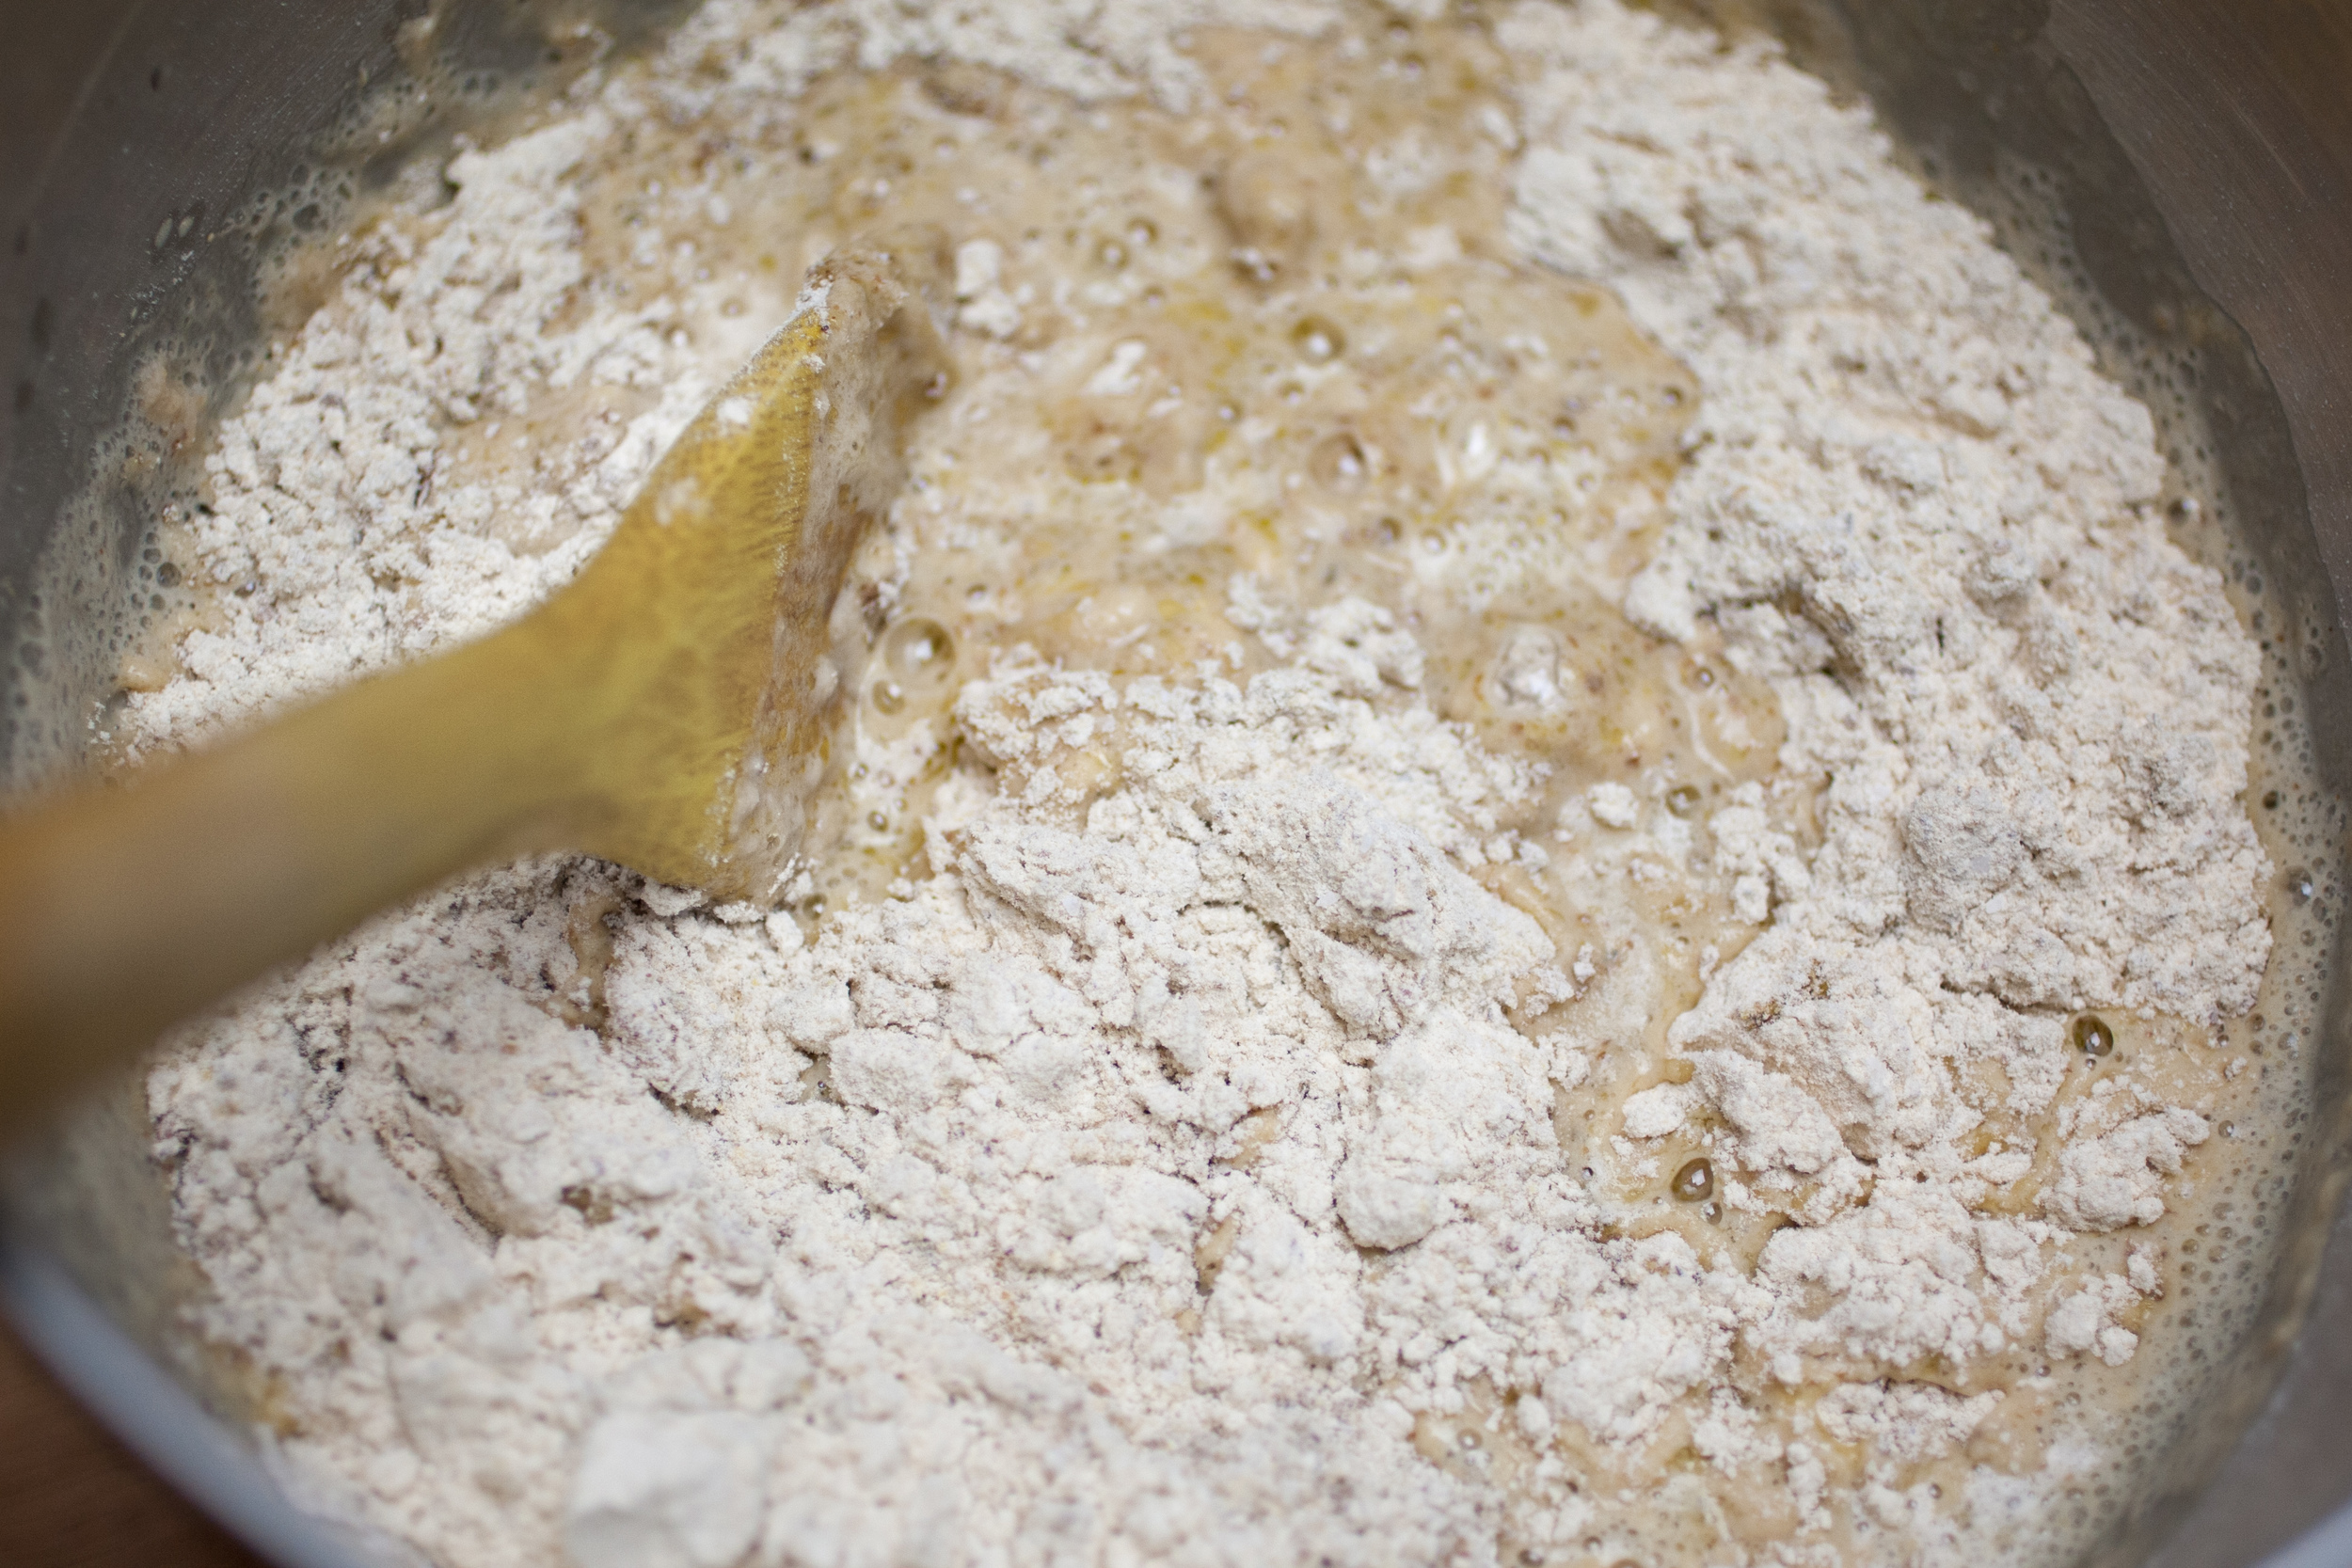 Then with the dough hook attachment, mix on low (2 or 4) for about 15 minutes or until a ball forms. Be sure to stop it every three minutes to stir and scrape. If it's still a bit sticky, add in small amounts of flour in steps until it's no longer sticky.
Coat the now empty dry mixture bowl with olive oil and place the dough ball in it to rise. Cover loosely with a clean dishcloth and set in a warm place to rise for about 1 hour, or until it has doubled in size.
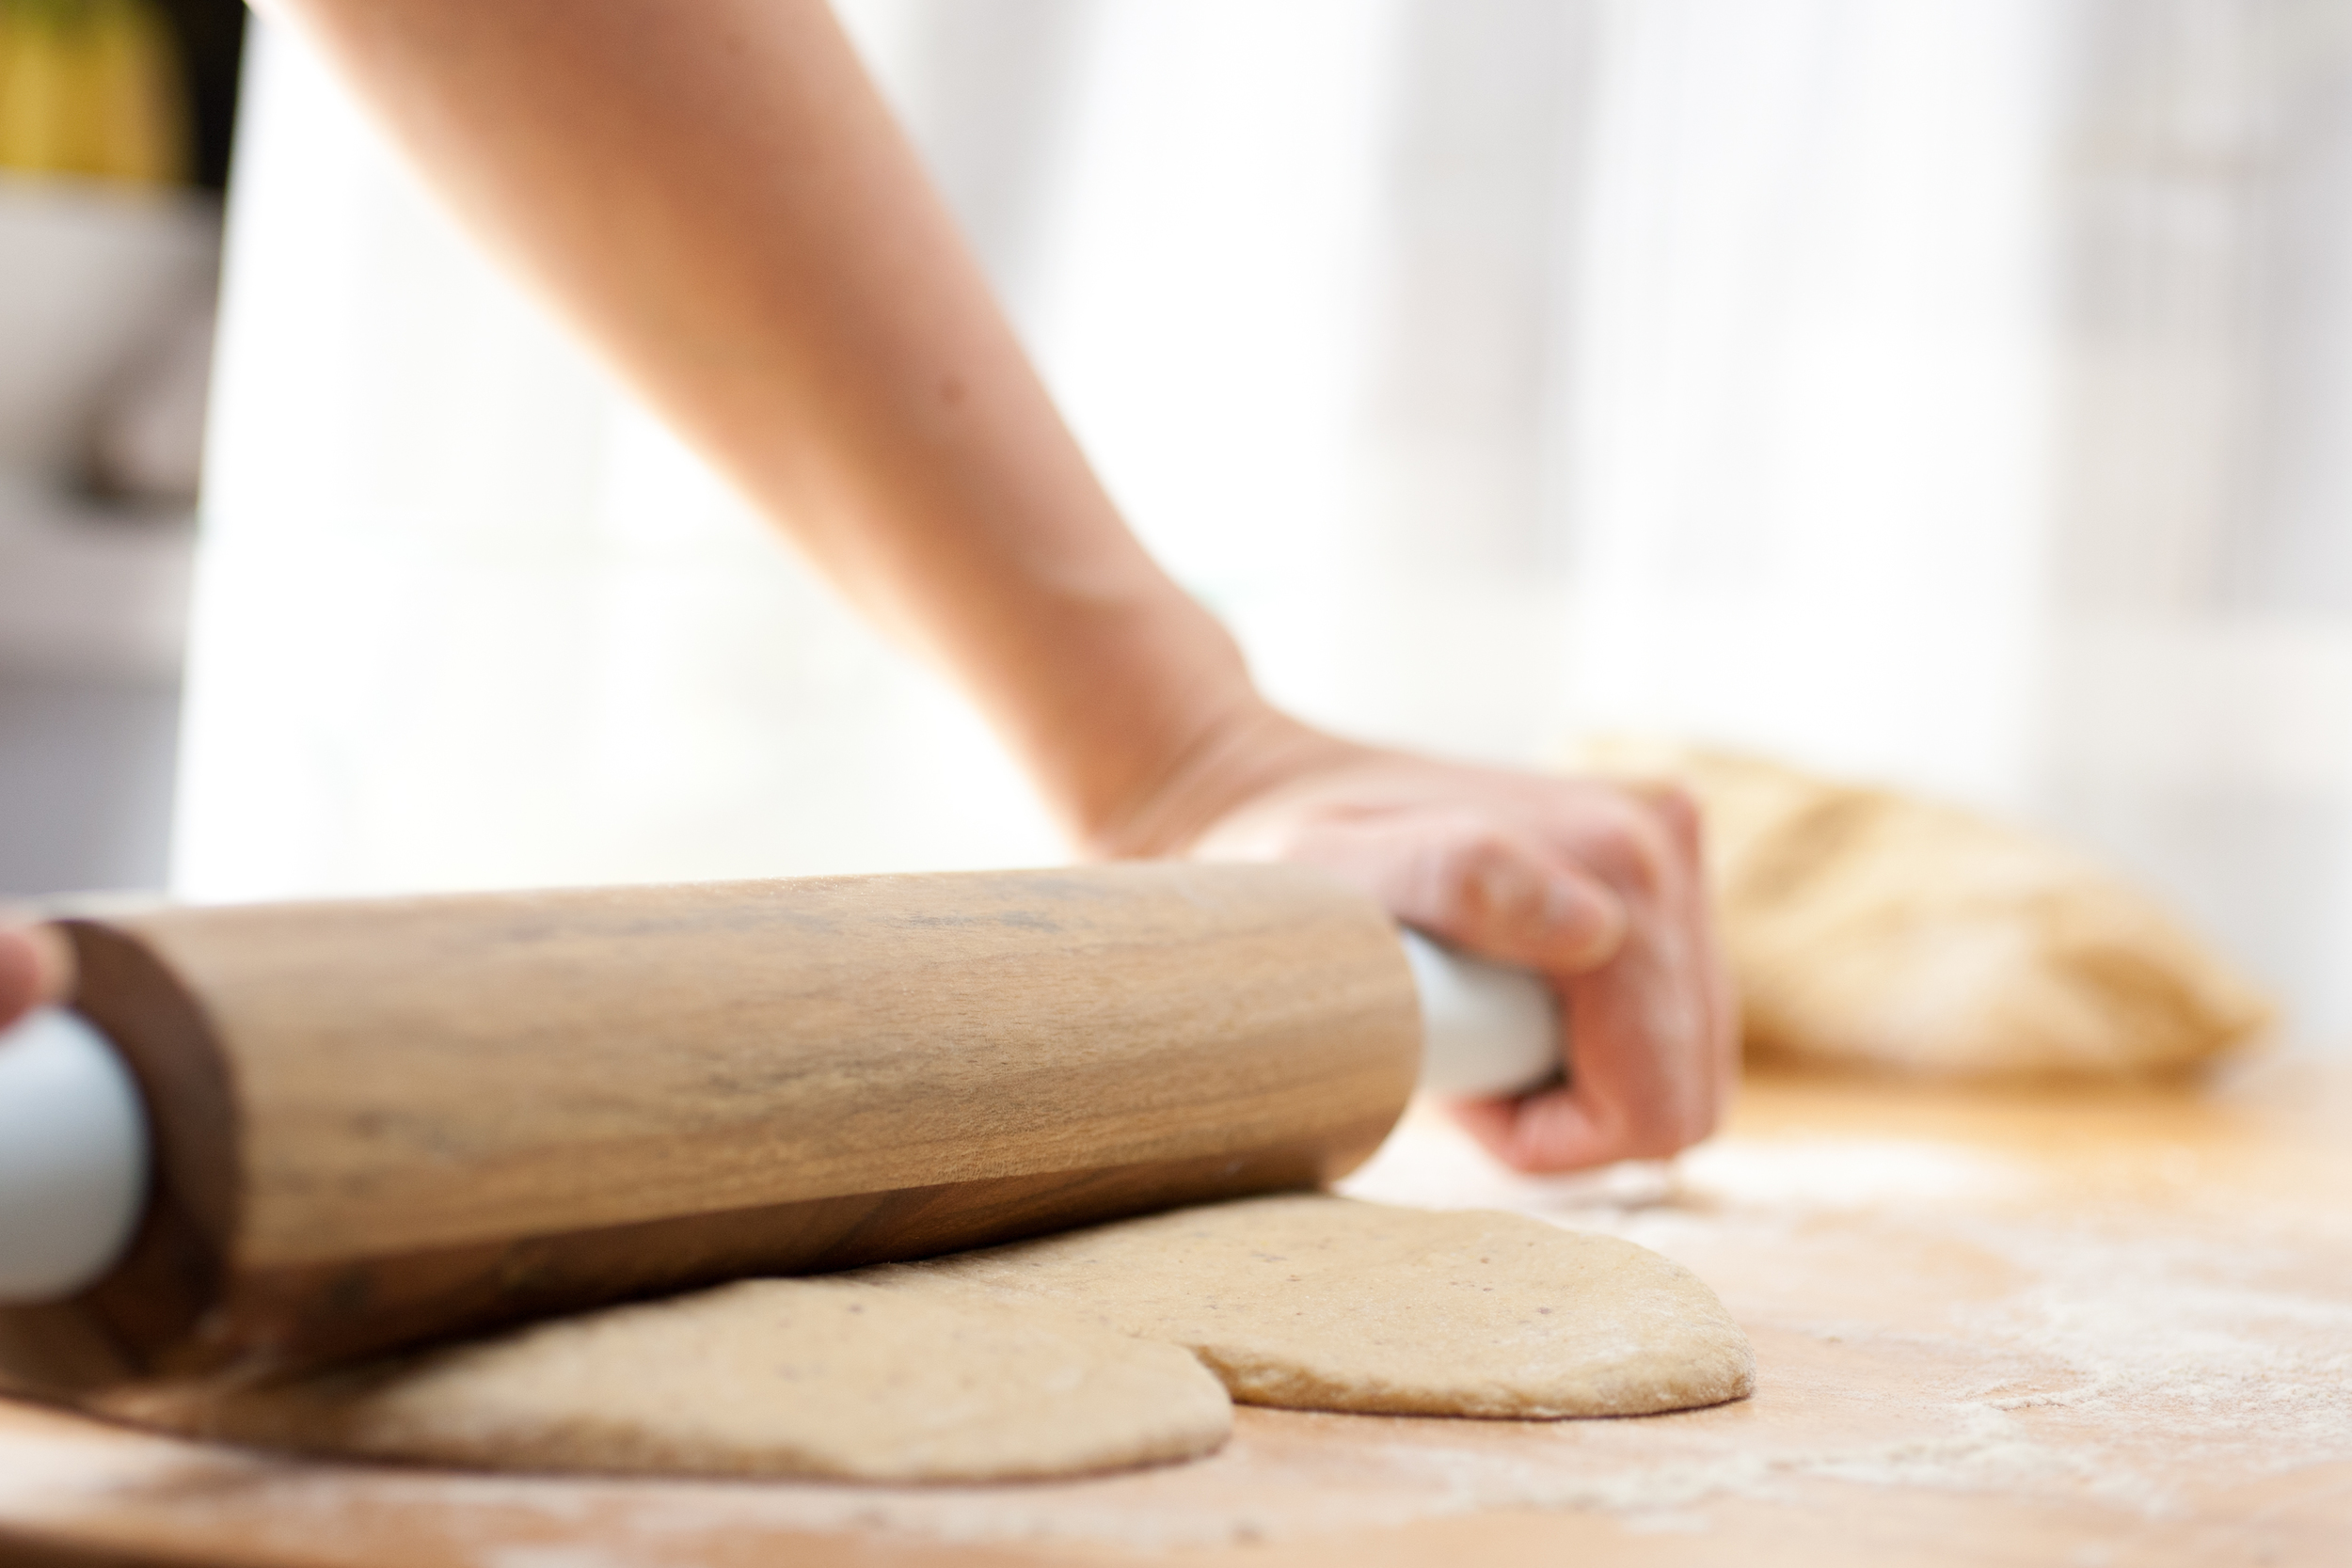
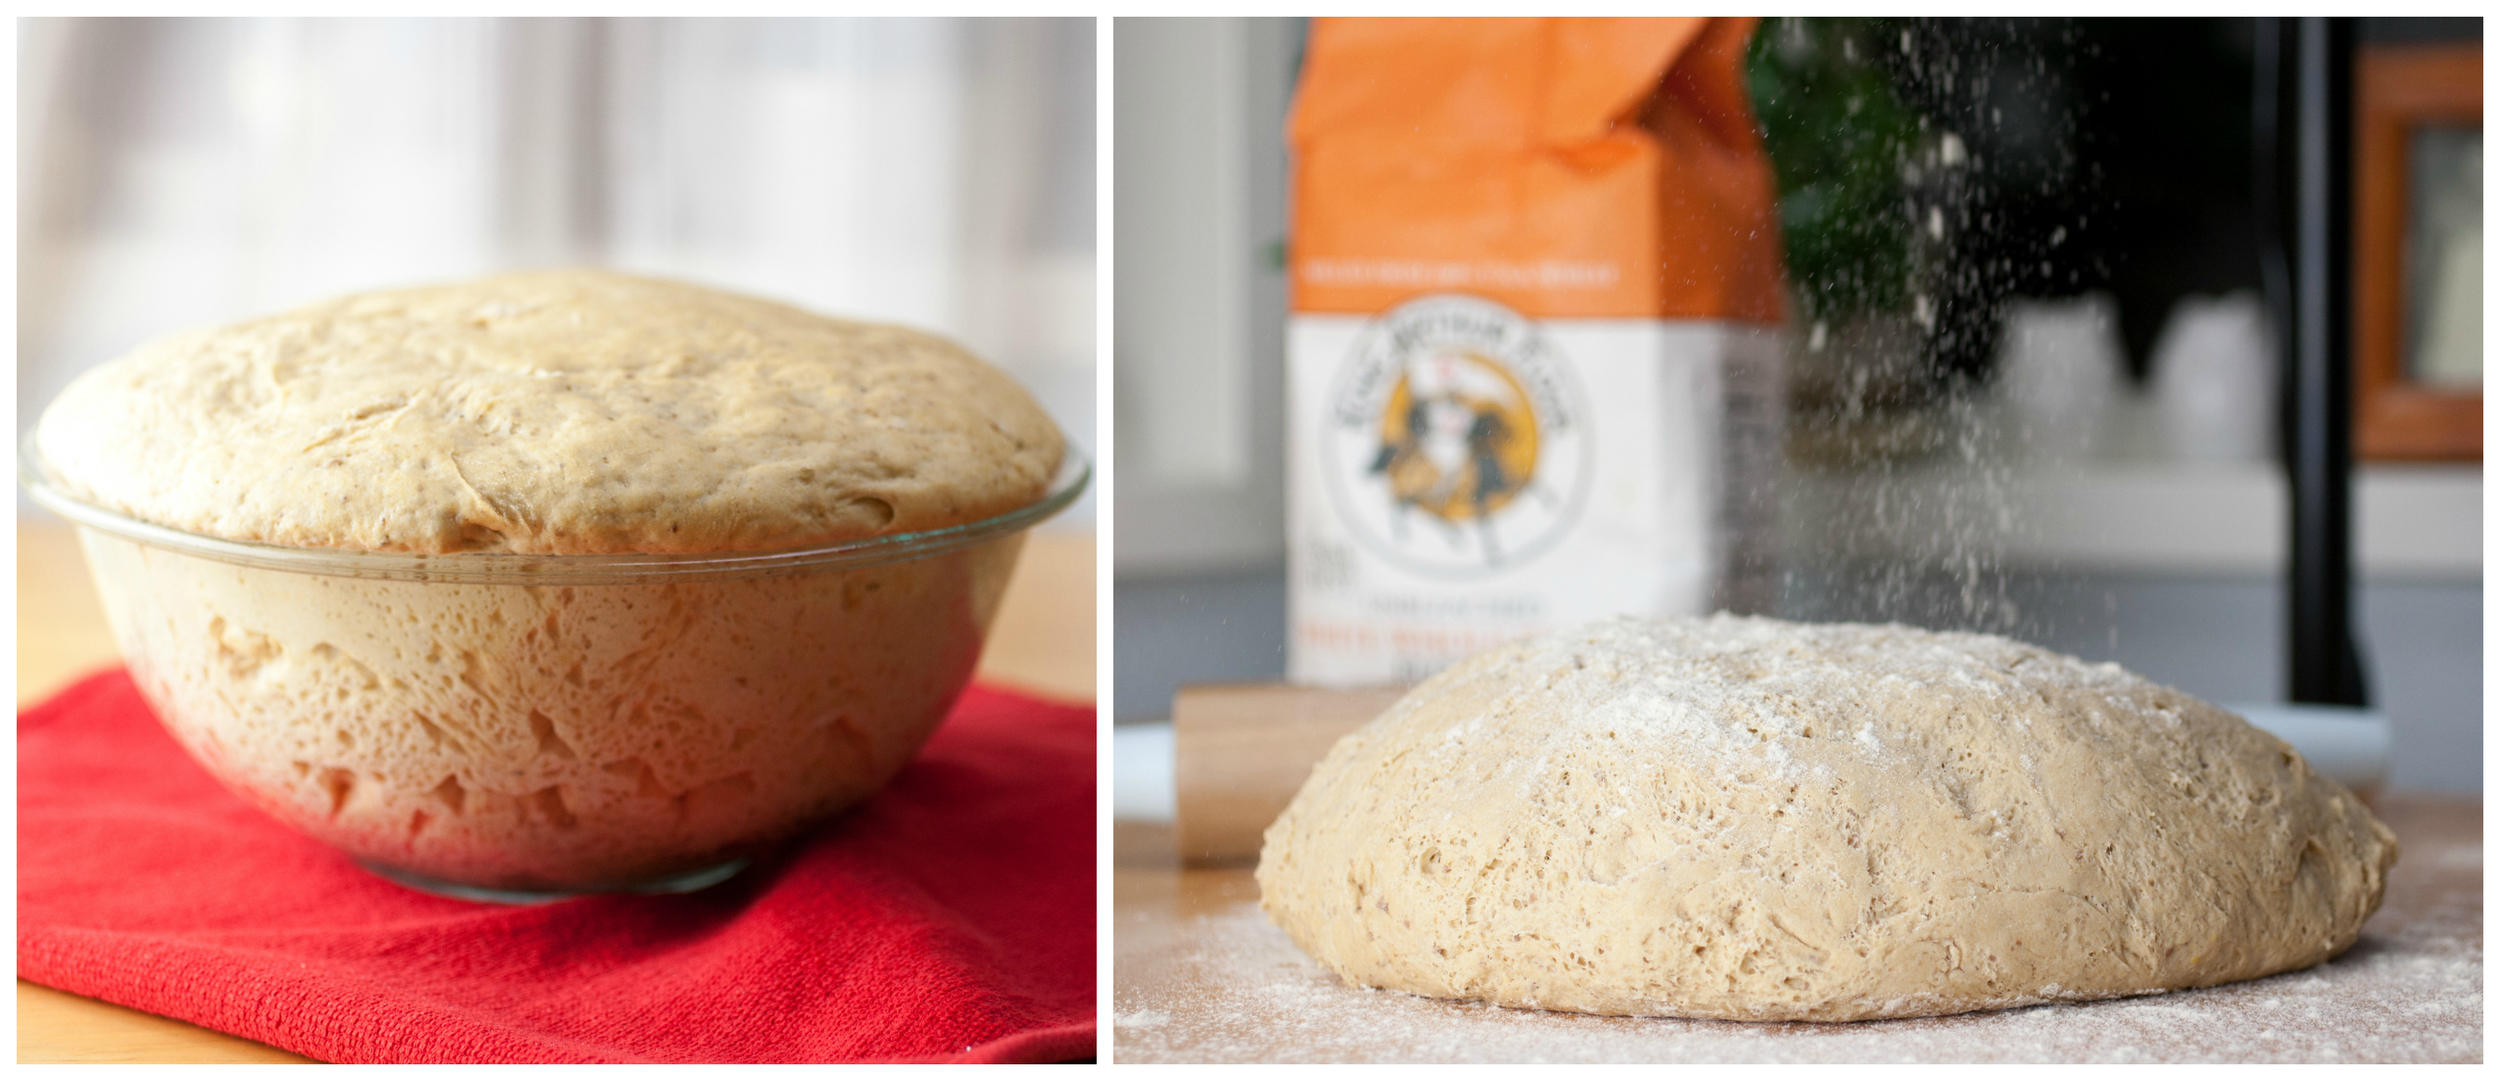 Once it's done rising, punch it down and then form a ball. On a lightly floured surface, cleave into two even dough balls and roll out each into a rectangle, with the width being the same as the height of your bread pan. Then, gently roll up each into a log.
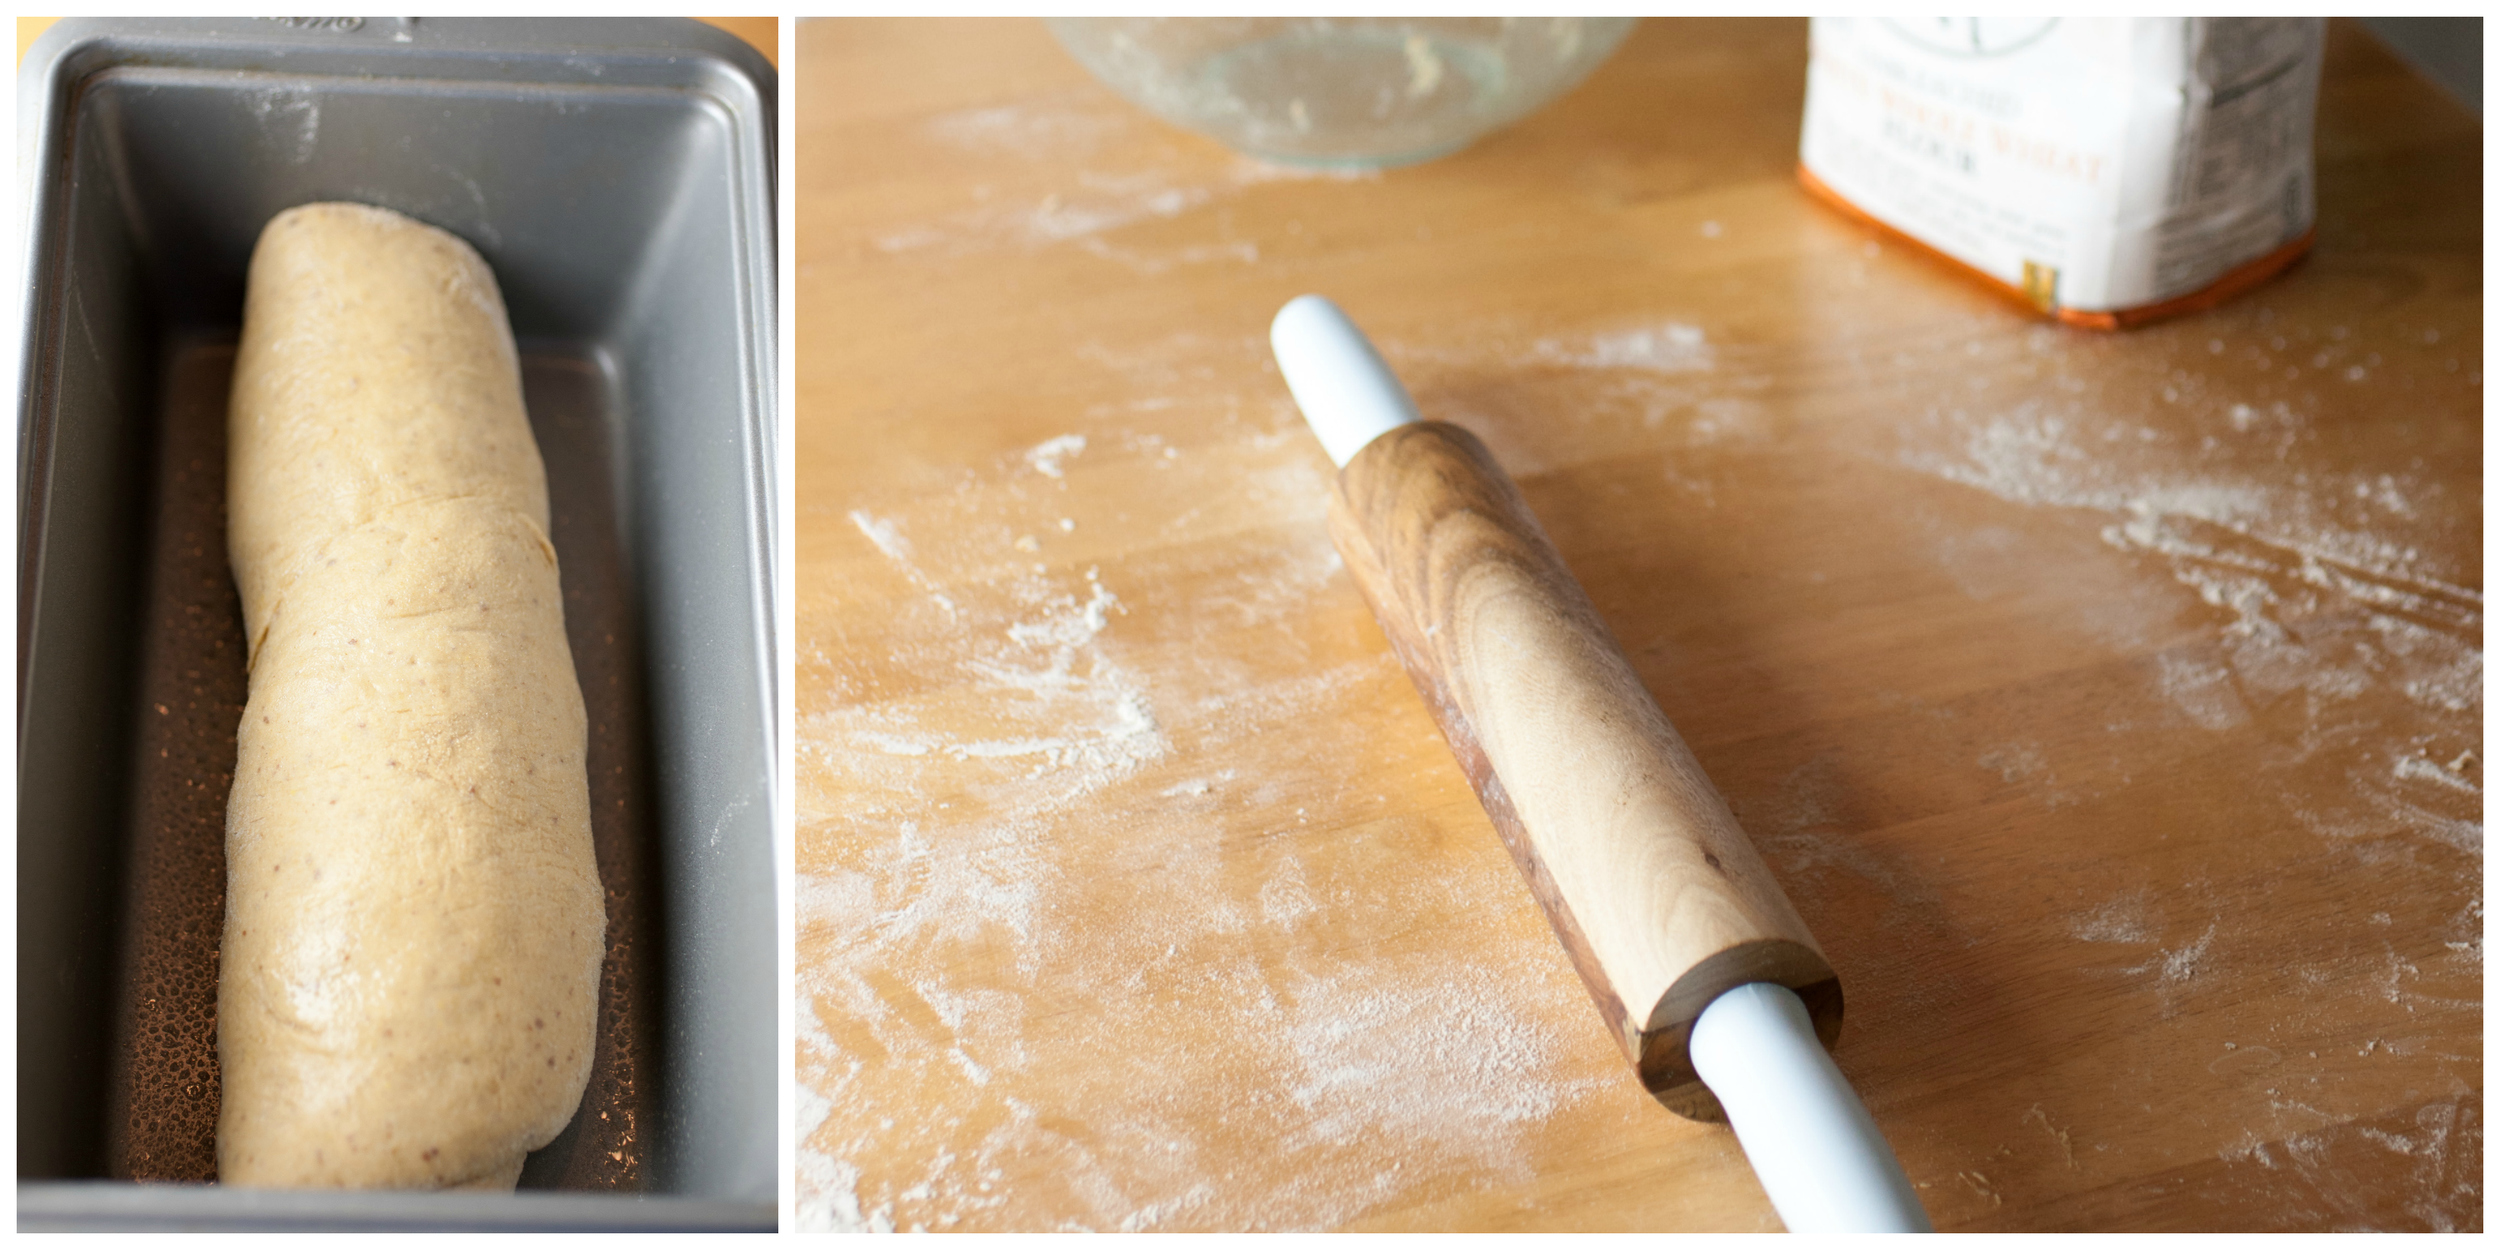 Coat each bread pan with a nonstick cooking spray. Place a dough log in each, with the seam down. Spray the tops with cooking spray and cover loosely with a clean dish towel. Place in a warm place for about 45 minutes or until it's doubled in size. Preheat oven to 350 F when there's 5-10 minutes left for rising.
Ensure that the bread has risen to the shape that you want for the bread, as it won't rise too much in the oven after it's already risen in it's dough log form.
Bake at 350 F for about 25 minutes. Remove from pans immediately and place on a cooling rack. Run vegan butter over the top of the loaf for a nice sheen.
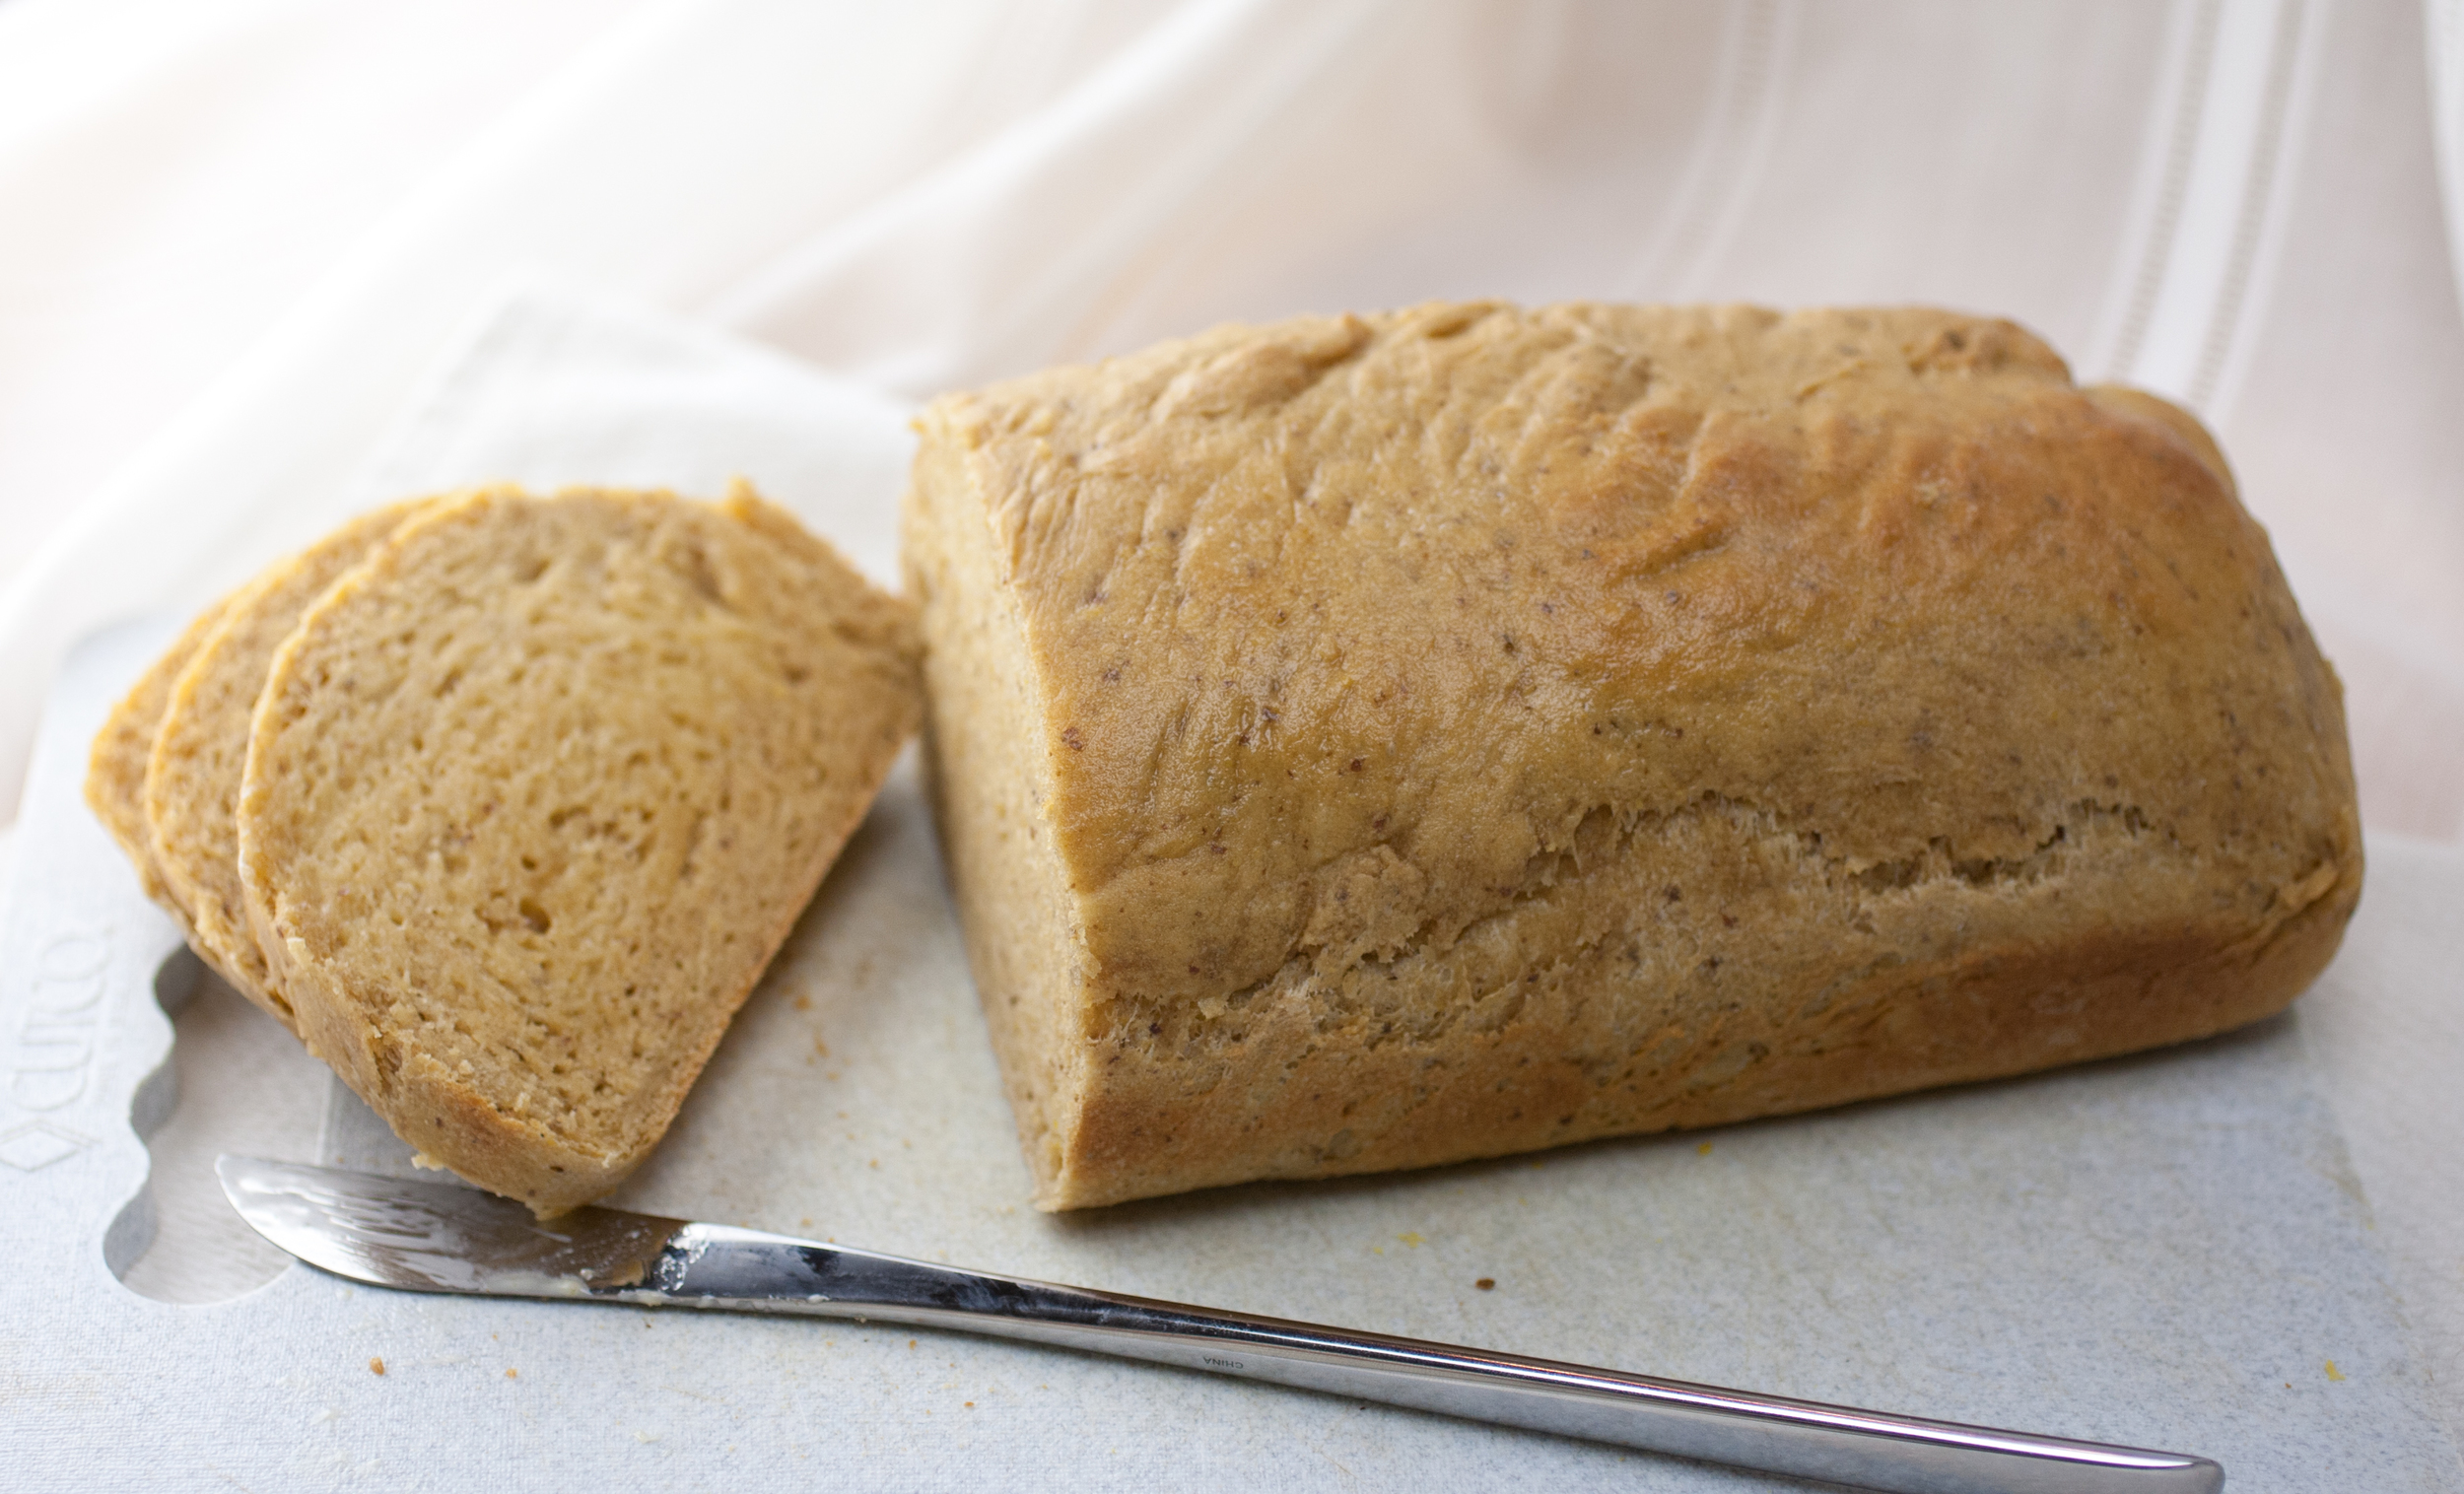
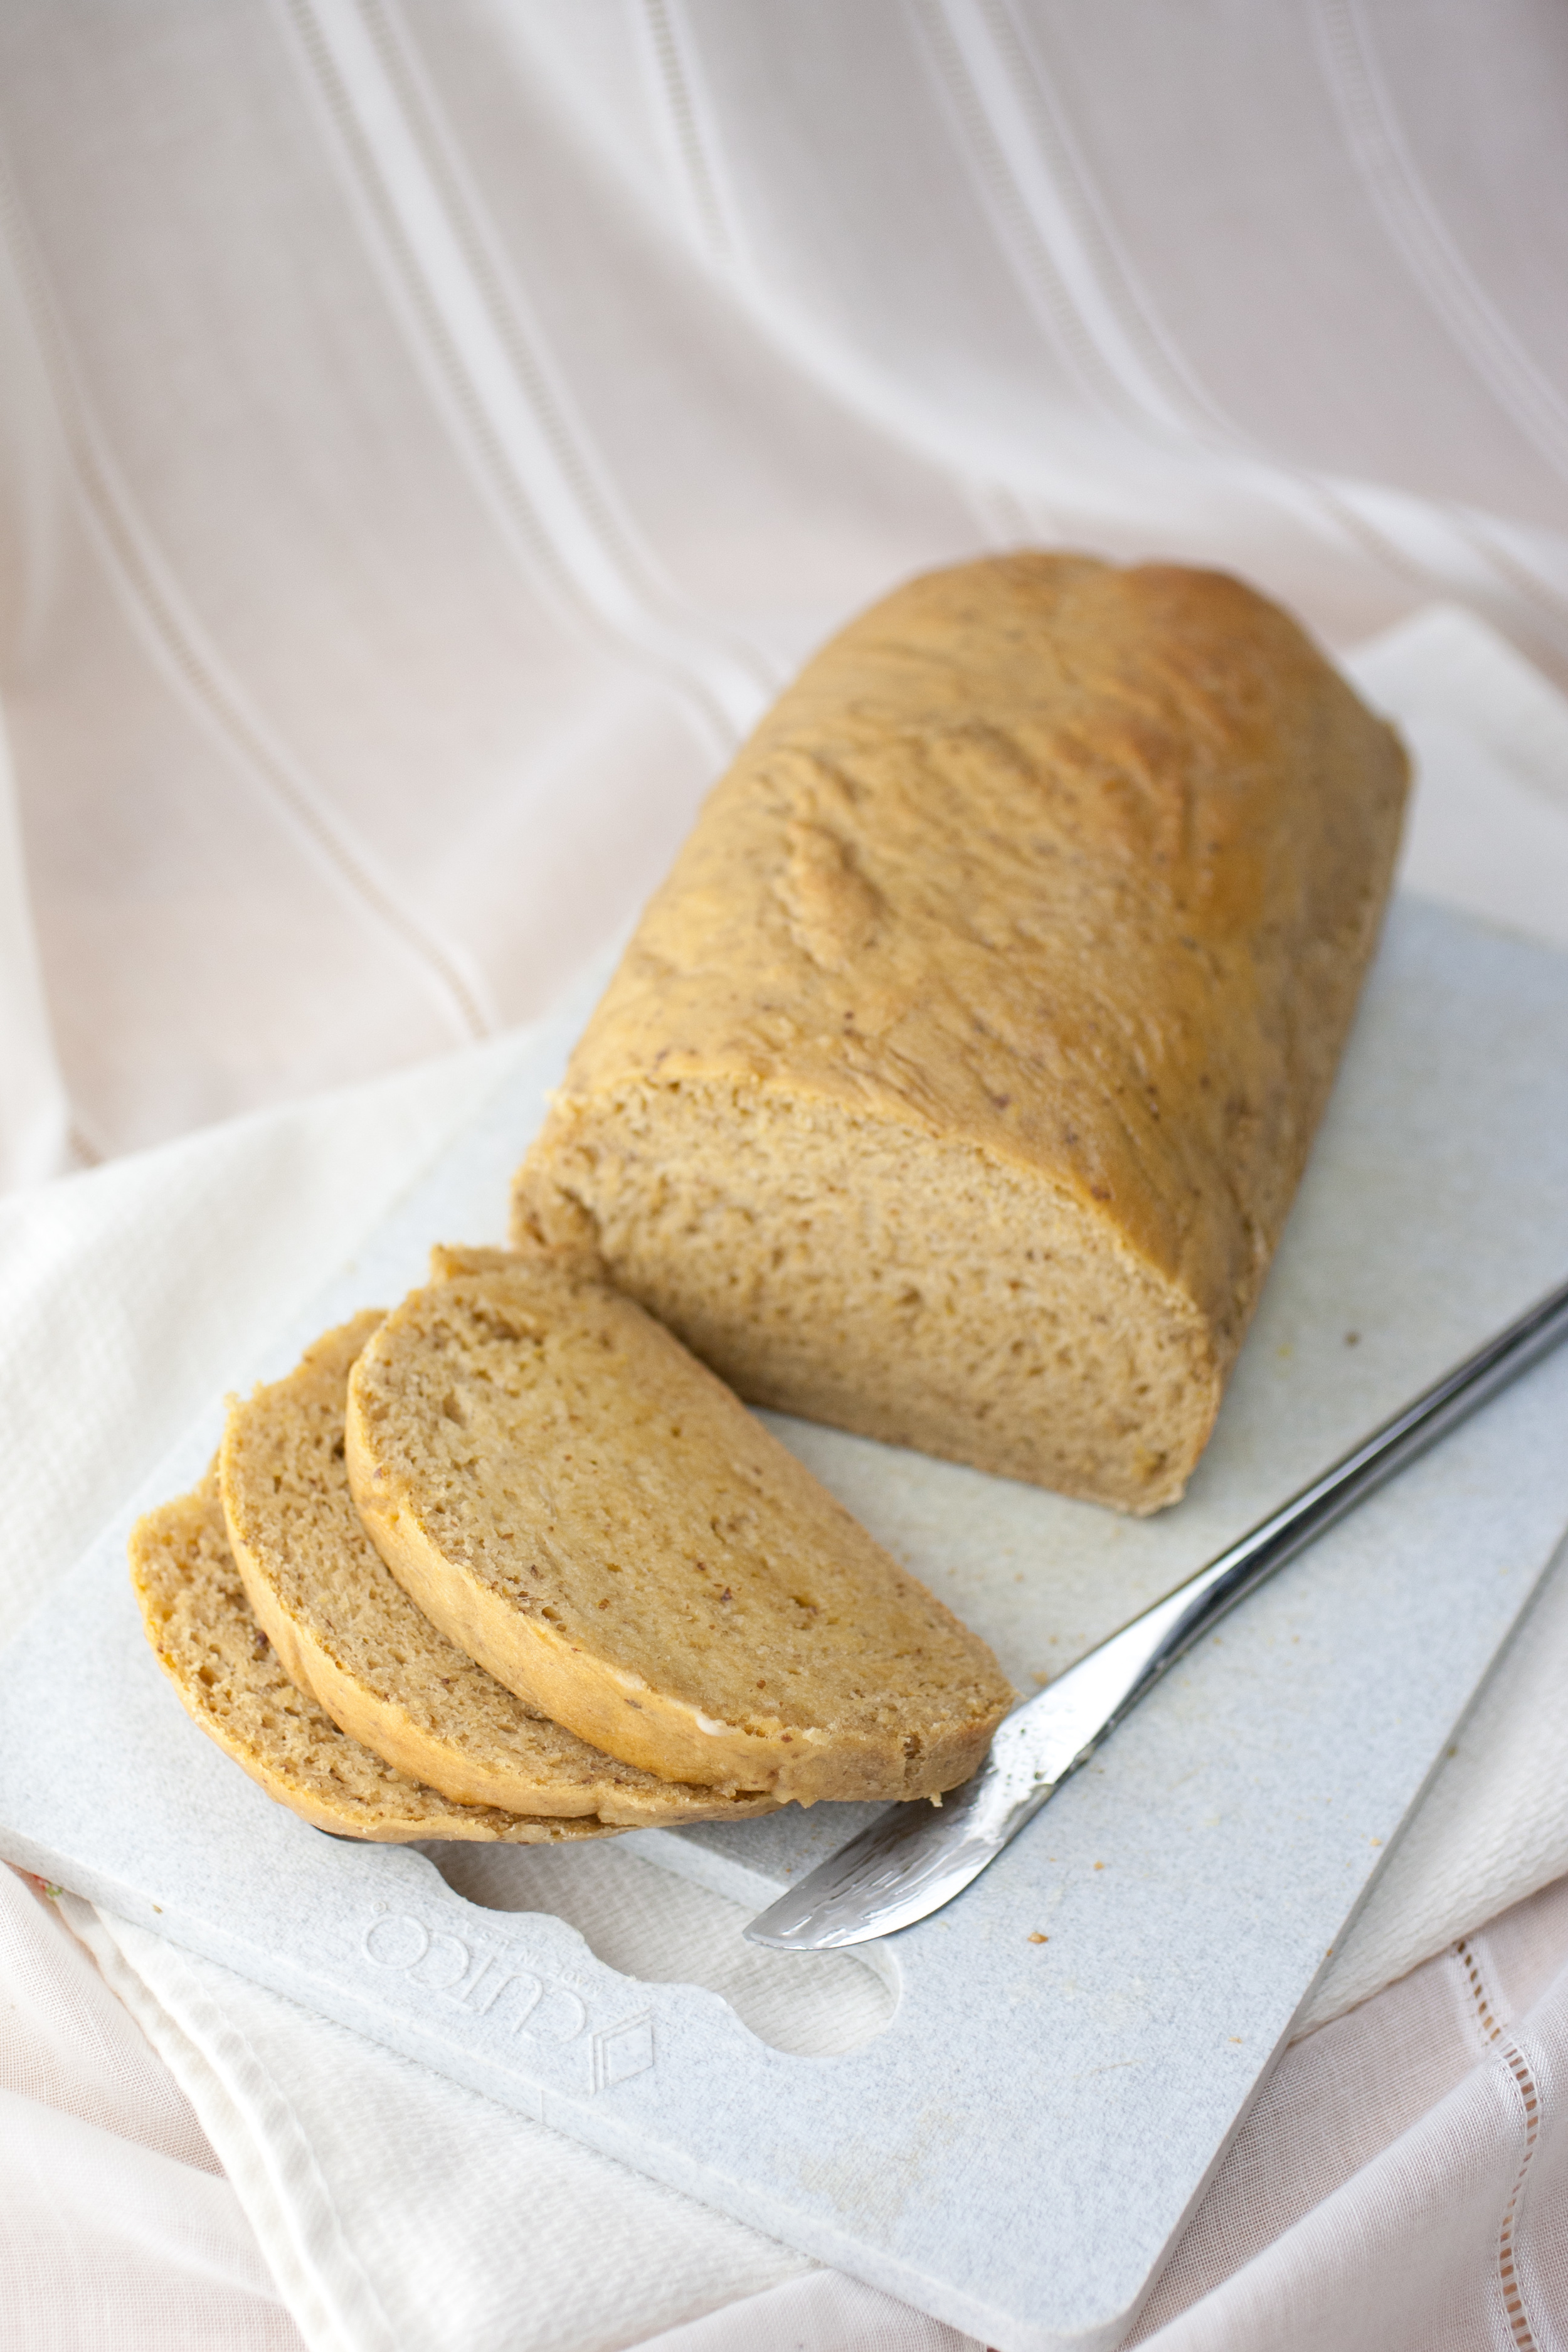 Slice up and serve warm!
 Store in cling wrap or a ziplock baggie in the fridge, or wrap and freeze for later.
 Listening to Ellie Goulding – My Blood
[yumprint-recipe id='46']


 Then with the dough hook attachment, mix on low (2 or 4) for about 15 minutes or until a ball forms. Be sure to stop it every three minutes to stir and scrape. If it's still a bit sticky, add in small amounts of flour in steps until it's no longer sticky.


